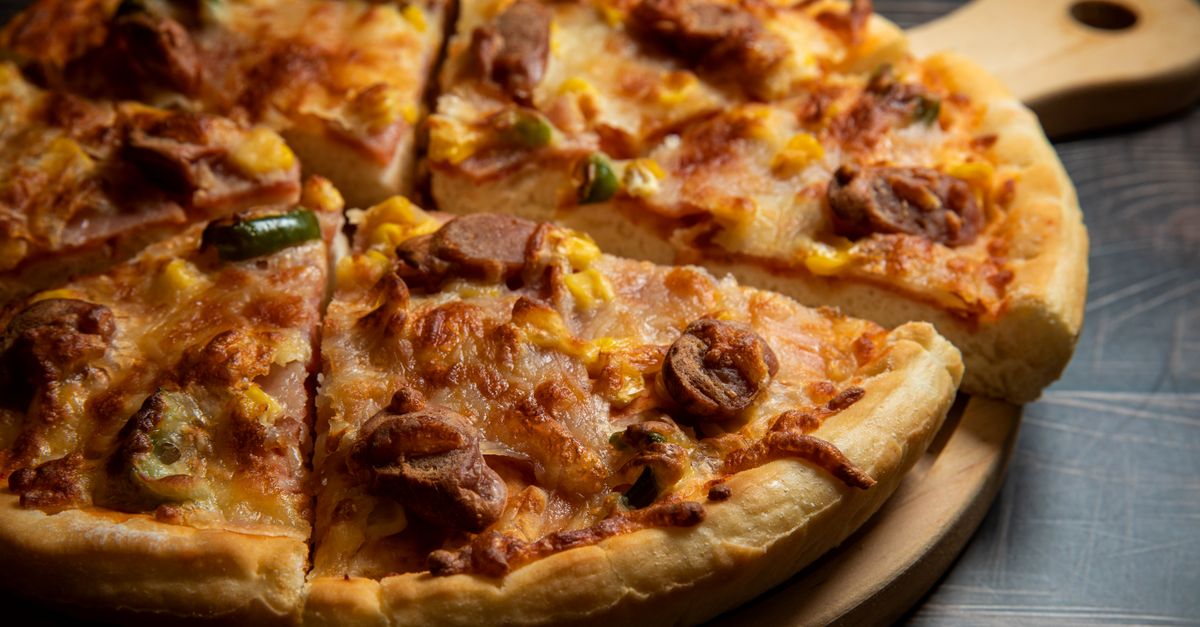
Why Your Homemade Pizza Crust Isn't Crispy (And The Pro Secrets That Deliver Pizzeria-Quality Crunch Every Time)
There’s a special kind of disappointment that comes with biting into a homemade pizza, expecting that satisfying crunch, and instead finding a soggy, limp, or overly chewy crust. You followed the recipe, used good ingredients, maybe even invested in a pizza stone. Yet, your efforts still fall short of that pizzeria-quality crisp. In my experience, this isn’t just a minor flaw; it’s the difference between a truly great pizza night and a merely acceptable one. Many home bakers focus on the toppings or the cheese, but the crust is the foundation—the unsung hero that elevates the entire experience. If your crust isn’t delivering that perfect snap and chew, you’re missing out on the full joy of homemade pizza. I’ve spent years experimenting, and what I’ve discovered is that the common advice often overlooks several critical factors that separate a good crust from a great one.
Key Takeaways
- The right flour, hydration, and an extended cold fermentation are crucial for developing structure and flavor, preventing a gummy interior.
- Achieving a truly crispy crust demands high, sustained heat, a preheated surface, and strategic ventilation to remove moisture.
- Over-working the dough or adding too much flour during handling leads to a dense, tough crust that resists crisping.
- The type and amount of toppings, along with proper sauce application, significantly impact crust moisture and crispness.
Ignoring the Fundamentals of Dough Development: Why Your Crust Stays Gummy
The biggest mistake I see aspiring pizza makers make is underestimating the science behind good dough. It’s not just about mixing flour and water; it’s about developing the gluten structure and allowing flavors to deepen. Most recipes skim over this, leading to a crust that might look done but has a disappointingly gummy interior, which inherently resists crisping.
First, let’s talk about flour choice. Many recipes simply call for ‘all-purpose flour,’ but that’s a gamble. All-purpose flour has varying protein contents depending on the brand and region. For a truly crispy crust with a good chew, you need a flour with a higher protein content, like bread flour (around 12-14% protein). This extra protein helps develop strong gluten networks, which trap air, giving your crust that desirable open, airy crumb. In my early pizza-making days, I’d use whatever all-purpose I had, and the results were always inconsistent—sometimes okay, often dense. Switching to a consistent bread flour made an immediate, noticeable difference.
Next is hydration. This refers to the ratio of water to flour. Too little water, and your dough will be stiff, dense, and tough. Too much, and it becomes sticky and hard to handle, potentially leading to a soggy base. For a crispy yet airy crust, I aim for a hydration level between 60-65%. This means for every 100 grams of flour, I use 60-65 grams of water. This range provides enough moisture for steam to create internal pockets (essential for crispness) without making the dough unmanageable. It takes practice to feel the right consistency, but a slightly sticky dough is often a good sign.
Finally, and perhaps most crucially, is cold fermentation. This is the secret weapon of pizzerias, and it’s often skipped in home recipes. After mixing and a brief rise, I punch down my dough, portion it, and then place it in individual oiled containers in the refrigerator for at least 24, but ideally 48-72 hours. This slow, cold fermentation does two things: it significantly develops flavor (thanks to enzymes breaking down starches) and it strengthens the gluten structure without overworking it. This means a more extensible dough that stretches easily without tearing, and a crust that bakes up with a complex aroma and, most importantly, a superior texture. The mistake I see most often is rushing this step, leading to bland, one-dimensional crusts that lack the internal structure needed for proper crisping. My own pizzas went from ‘good for homemade’ to ‘restaurant-worthy’ the moment I committed to a 48-hour cold ferment.
Insufficient Heat and Moisture Trapping: The Enemy of Crispness
Even with a perfectly developed dough, your crust won’t crisp if it’s not exposed to the right baking conditions. Most home ovens simply don’t reach the same temperatures as a commercial pizza oven, and even when they do, they often trap moisture, which is the nemesis of crispiness. This is where many home cooks falter, expecting a stone or steel alone to do all the work.
The number one culprit is insufficient oven temperature and preheat time. For a truly crispy crust, your oven needs to be as hot as it can possibly get—usually 500-550°F (260-290°C). But it’s not enough to just set the temperature and wait for the beep. You need to preheat your pizza stone or steel for at least an hour, preferably 90 minutes. This allows the stone/steel to absorb and retain enough heat to give the dough that initial, powerful thermal shock when it makes contact. This burst of heat immediately sets the crust, creating a rapid rise (oven spring) and preventing a soggy bottom. The mistake I see is people preheating for only 20-30 minutes, which simply isn’t long enough. I learned this the hard way: my early pizzas had beautiful tops but disappointing bottoms until I started really extending the preheat.
Another critical factor is moisture management. As the pizza bakes, moisture from the dough and toppings turns into steam. If this steam gets trapped around the crust, it softens it, making it impossible to achieve that dry, crispy texture. Here’s what actually works:
- Pizza Stone/Steel Placement: Always bake your pizza on a pizza stone or steel placed on the lowest rack possible. This ensures direct, intense heat to the bottom of the crust, where crispness is most critical.
- Brief Oven Door Cracking: Commercial pizza ovens have open fronts that allow steam to escape. Your home oven doesn’t. For the last 2-3 minutes of baking, I’ve found it beneficial to very slightly crack the oven door. This allows some trapped steam to escape, helping to dry out the crust further. Don’t leave it open for long, or your oven will lose too much heat, but a small gap can make a difference. This is a trick I picked up from a professional baker, and it was a game-changer for me.
- Cooling Rack is Key: Once baked, never let your pizza sit on a flat surface. Immediately transfer it to a wire cooling rack. This allows air to circulate underneath, preventing condensation and preserving that hard-earned crispness. Letting it sit on a cutting board, even for a minute, can undo all your hard work.
These seemingly small adjustments to oven usage and moisture control collectively create an environment where your crust can genuinely crisp up, rather than steam.
Overworking and Over-Flouring: The Path to Toughness
Many home bakers, myself included in my early days, fall into the trap of trying to control the dough too much. The desire for a perfectly round crust or the fear of stickiness often leads to practices that result in a tough, dense, and ultimately less crispy pizza. The goal is to be gentle and efficient, letting the dough do its thing.
The first common mistake is overworking the dough during shaping. When your dough is properly cold-fermented, it should be extensible and elastic. Resist the urge to aggressively roll it out with a rolling pin or repeatedly stretch and fold it. Too much handling develops gluten excessively, leading to a tough, bready texture that fights against a delicate crisp. Instead, for a crispy crust, you want to preserve some of that internal air structure. My method is simple: gently press the dough from the center outwards with your fingertips, pushing air to the edges to form the cornicione (the puffy rim). Then, gently stretch and rotate it, letting gravity do most of the work, until you reach your desired size. The key is minimal contact and gentle manipulation. When I switched from trying to force the dough into shape to gently coaxing it, the difference in texture was profound.
Second is excessive flour during handling. It’s natural to dust your work surface and hands with flour to prevent sticking, but too much flour gets incorporated into the dough, changing its hydration ratio and making it stiff. A stiff dough won’t stretch as easily, and it will bake up dense and heavy, hindering crispness. What changed everything for me was using semolina flour or rice flour for dusting, instead of regular flour. These flours are coarser and less readily absorbed by the dough, creating a non-stick barrier without adding significant gluten or moisture absorption. A small amount goes a long way. This was a tip I learned from a Neapolitan pizzaiolo, and it not only made handling easier but also contributed to a superior crust texture.
By being mindful of these handling techniques—gentle shaping and strategic dusting—you allow the dough to maintain its optimal structure, leading to a lighter, airier, and ultimately crispier crust.
Overloading and Incorrect Topping Application: A Recipe for Soggy Disaster
Even if you’ve mastered your dough and baking technique, the final frontier for a crispy crust is your toppings. Many home pizza makers, with good intentions, pile on too much or apply them incorrectly, turning their perfectly crafted crust into a soggy mess. The balance between generous toppings and crust integrity is delicate.
The most straightforward error is overloading the pizza with too many toppings. Each ingredient, especially vegetables and sauces, contains moisture. When you pile on too much, that moisture releases during baking, steams the crust, and prevents it from crisping up. Think less is more. Instead of a mountain of ingredients, choose a few high-quality toppings that complement each other. For a 12-inch pizza, I aim for roughly:
- Sauce: 1/4 to 1/3 cup (60-80ml)
- Cheese: 4-6 ounces (115-170g)
- Other toppings: 2-4 ounces (60-115g) total
These are guidelines, but the principle is clear: don’t smother your crust. When I started being more disciplined with my topping amounts, my crusts consistently came out crisper.
Next, watery sauces and vegetables are significant contributors to sogginess. If your tomato sauce is too thin or has high water content, it will leach into the dough. For this reason, I prefer a thicker, uncooked San Marzano tomato sauce (just crushed tomatoes with a pinch of salt and olive oil) as it minimizes excess moisture. If using vegetables known for high water content (like mushrooms, spinach, or bell peppers), pre-cook them first. Sautéing mushrooms or spinach removes much of their moisture, concentrating their flavor and preventing them from steaming your crust during baking. This extra step is non-negotiated in my kitchen; it makes all the difference.
Finally, consider the placement and type of cheese. While delicious, some cheeses release more moisture or oil than others. Low-moisture mozzarella is usually the go-to for pizza because it melts beautifully without making the crust soggy. If you love fresh mozzarella, use it sparingly and consider tearing it into smaller pieces to reduce concentrated moisture. Apply cheese evenly, avoiding thick clumps. Some chefs even suggest adding a portion of the cheese halfway through baking to reduce moisture on the crust for the initial, critical crisping phase, though I find proper sauce and topping amounts generally suffice if using low-moisture options.
By being deliberate about your topping choices, quantities, and preparation, you empower your crust to achieve its full, crispy potential, rather than burying it under a damp blanket of ingredients.
Frequently Asked Questions
What is the best flour for a crispy pizza crust?
For a truly crispy crust with good structure, bread flour (around 12-14% protein) is ideal. Its higher protein content develops strong gluten, which traps air for an airy, crispy texture. All-purpose flour can work, but results may be inconsistent due to varying protein levels.
How long should I preheat my pizza stone or steel?
A pizza stone or steel should be preheated in your oven at its highest temperature (e.g., 500-550°F / 260-290°C) for at least 60-90 minutes. This allows it to absorb and retain enough heat to give the dough an immediate thermal shock, crucial for a crispy bottom crust.
Can I use a rolling pin to stretch my pizza dough?
While you can use a rolling pin, it’s generally not recommended for a truly crispy and airy crust. A rolling pin tends to force out the air bubbles that contribute to the desirable open crumb structure. Instead, gently press and stretch the dough by hand, pushing air to the edges to form the cornicione.
How much sauce and toppings should I put on a pizza?
Less is more for a crispy crust. For a 12-inch pizza, aim for about 1/4 to 1/3 cup of sauce, 4-6 ounces of cheese, and 2-4 ounces total of other toppings. Overloading adds too much moisture, which can lead to a soggy crust.
Should I pre-cook vegetables before putting them on pizza?
Yes, especially for vegetables with high water content like mushrooms, spinach, or bell peppers. Pre-cooking them (e.g., by sautéing) removes excess moisture, concentrates their flavor, and prevents them from steaming your pizza crust and making it soggy during baking.
My pizza crust is still gummy in the middle. What am I doing wrong?
A gummy crust is often a sign of insufficient dough development or inadequate baking. Ensure you’re using bread flour, a proper hydration level (60-65%), and most importantly, allow for a long cold fermentation (24-72 hours) in the refrigerator. Also, ensure your oven and pizza stone/steel are fully preheated for sufficient baking power.
Achieving that perfect, crispy homemade pizza crust is a journey of understanding your ingredients, respecting the dough, and optimizing your baking environment. It’s about being deliberate with every step, from the flour you choose to the way you handle the dough and the amount of toppings you apply. What changed everything for me was realizing that every element plays a role in preventing sogginess and promoting that satisfying crunch. Don’t settle for a limp crust. Implement these pro secrets, and elevate your pizza nights to a truly exceptional experience. Your taste buds—and your guests—will thank you.
Written by Lena Petrova
Home & Practical Living
Lena's expertise in consumer research helps her uncover the most effective and accessible solutions for home and finance.
You Might Also Like

Why Most Beginners Fail at Mastering Photography (And What Actually Works Beyond Auto Mode)
Stuck in auto mode? Discover why common beginner photography advice misses the mark and my layered approach for truly capturing stunning images.
Why Most Beginners Fail at Mastering Photography (And What Actually Works Beyond Auto Mode)
Struggling to move beyond auto mode? Learn the non-obvious reasons beginners fail at photography and the strategic shifts for stunning photos.

Why Most Beginners Fail at Mastering Slow Cooking (And What Actually Works for Effortless Meals)
Discover why most beginners struggle with slow cooking and learn the counter-intuitive techniques that guarantee delicious, stress-free meals every time.